Twirly Girl Dress: Get yo twirl on.

Hey friends. Hopefully you are starting to feel the effects of some warmer weather. I know I am getting spring fever with the hint of a few warmer days here in Chicago. Even though it's barely been over 50 degrees the sun is just toying with my desire for warmer weather.
So every year for the holidays I sew some cute clothes up for my girls. This year I made these simple circle dresses and they LOVED them. My youngest usually wants to wear hers on a daily basis, which causes quite the issue as I refuse to laundry more than once in a week and her attire usually needs to be refreshed after a few hours let alone an entire day.

I'm usually at Jo Ann fabrics on a weekly basis and on one of my recent trips I found some great knits for $2.50/yd and I figured I would fill their closets with a few more dresses. Since they are the girls current favorite clothing item and I was going to make more for them I decided to develop the pattern and put it up on our etsy shop. I know my girls aren't the only ones who love dresses with twirling qualities. Who doesn't love a good twirl once in awhile?
So here's a run through of the step-by-step instructions for the pattern, you'll see just how easy this little dress is. If you've never sewn knits don't be scared they are super easy. This would be a great first project even. I did serge all of my seams with a serger, but you don't have to. You can easily sew knits using a home sewing machine using a zig-zag stitch. I really like this tutorial, check it out. Ready to get started? Let's go.

1) Sew/serge front and back shoulder seams together with right sides facing each other.

2) Sew/serge a sleeve into each armhole seam with right sides together.

3) Bring side seams and sleeve seam together with right sides together. Sew/serge along the bodice side seam and sleeve.

4) Fold neckband in half and Sew/serge the neckband seam.

5) Fold neckband in half along fold line. Attach neckband to bodice neckline by sewing/serging around neckline.

6) Grab your skirt pieces and face them with right sides together. Sew/serge front and back skirt pieces together along side seams.

7) Align waist seams of Bodice and Skirt by placing the bodice inside the skirt. Make sure right sides are f facing each other and that you match the side seams to each other. Sew/serge around waist seam.
8) Your final step is to hem the skirt and sleeves. Depending on your equipment this can be done a few different ways. Professionally, knit hems use a cover-stitch, but these machines are costly and you don’t need one. There are sergers and overlocks that have the ability to do both, my Husqvarna Huskylock S21 can do both, I definitely recommend one if you’re in the market. If you do not have a cover-stitch machine have no fear my favorite method for hemming requires only a double needle. Most basic sewing machines can accommodate a double needle, be sure to check your manual for threading directions, each machine will be slightly different. Use a basic straight stitch, this will create two perfect rows of stitching on the top side with a zig-zag that will encase the raw fabric edge on the
underside allowing for more stretch, closely mimicking a cover-stitch. This is a great tutorial if you want more images on it. If using a double needle is not an option on your machine a second option would be to zig-zag along the hem with a single needle just like you did for your seams if you weren’t using a serger.
That’s it! You're done and hopefully you have a dress as adorable as this one.
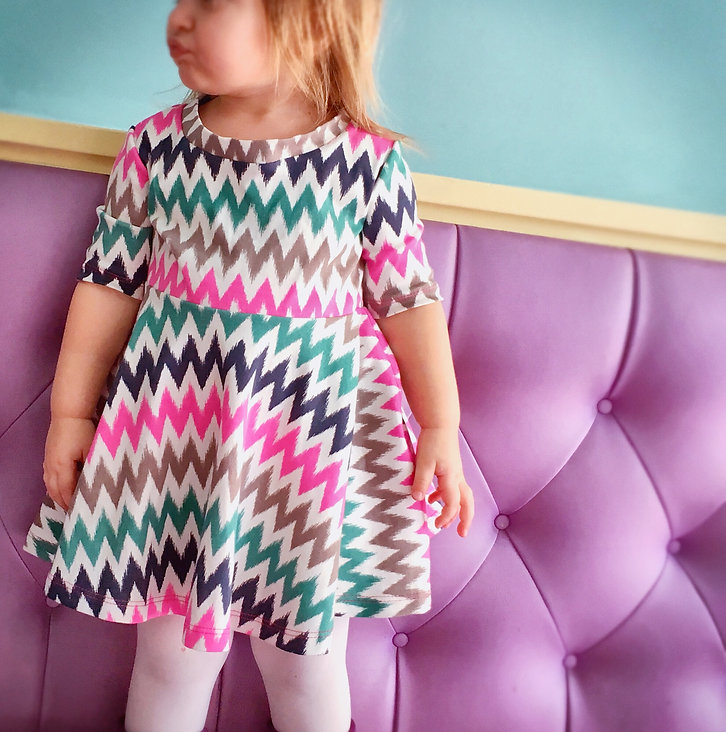
This little knit dress is a big hit now in our house and is sure to be a summer favorite. Check out the pattern, I'd love to see some little fashionistas in their new dress!
-Jenn
P.S. I may have bribed my daughter with a cupcake to take these adorable pictures...


Comments
Post a Comment